Continuous deployment - GitHub Actions on DigitalOcean's Kubernetes
Continuous deployment - GitHub Actions on DigitalOcean's Kubernetes


After the Kubernetes cluster is created and configured go to your GitHub repository
I recommend using other than master branch, since we'd like to publish our changes only when the code is tested and ready to be released into the wild.
In our case we'll be using a GitHub branch called: do
So create a new branch: do and switch to that branch:
git branch do
git checkout do
Here we assume we have a file named Dockerfile in the branch. If you don't have one go ahead and create it. Test it locally and make sure everything works before your continue.
Some helpful commands for building a docker image from Dockerfile:
docker build -t myproject:0.1 . # build the image

docker tag myproject:0.1 somethingelse:0.1 # renaming docker tag

docker exec -ti myproject:0.1 /bin/bash # or /bin/sh to login to running docker container

docker ps -a # list running containers

docker logs abcdef # checking logs from a running docker containerID/Name

docker run -p 80:80 myproject:0.1 # running a docker container with port mapping 80->80
Create API token on DigitalOcean
Go to your DigitalOcean account and select API from the menu on the left. Click on "Generate new Token", name it e.g. "githubactionstoken". Copy the token (if you don't do so now you'll have to generate another token) and put in some temporary text file that you'll delete later.
Enable Container Registry on your DigitalOcean account
Navigate form the menu on the left to "Images" and then select "Container Registry".
Whatever you name your registry it's going to be referred from now on as "myregistry" in this blog post, while "myproject" defines your specific project name (good idea to keep the same name as GitHub repository name).
Enter Security Tokens on GitHub
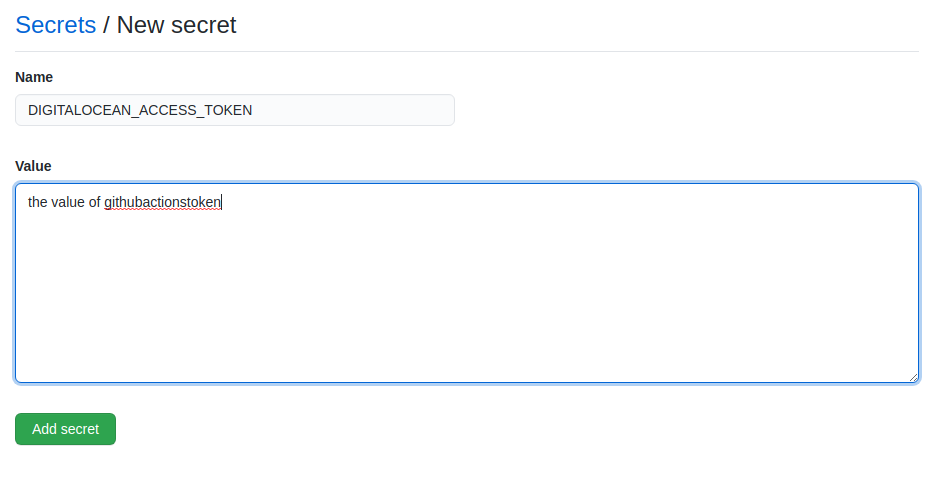
Now go to your GitHub page, select "Settings" from the first page of your repository you'd like to set up continuous deployment.

Now click on "Secrets" and click on "New Secret". Add the secret named "DIGITALOCEAN_ACCESS_TOKEN":
If your code requires cloning and compiling dependencies from private repositories then add another Secret here with the Developer token value. You can use that later within docker image build. An example of building docker image with an input argument "token":
docker build . --file Dockerfile --tag registry.digitalocean.com/myregistryname/myproject:0.1 --build-arg token=abcdeffI usually use this technique to build my go in the cloud for projects that have internal (private GitHub dependencies).
Start creating a Workflow on GitHub
Go to your project and select "Actions":
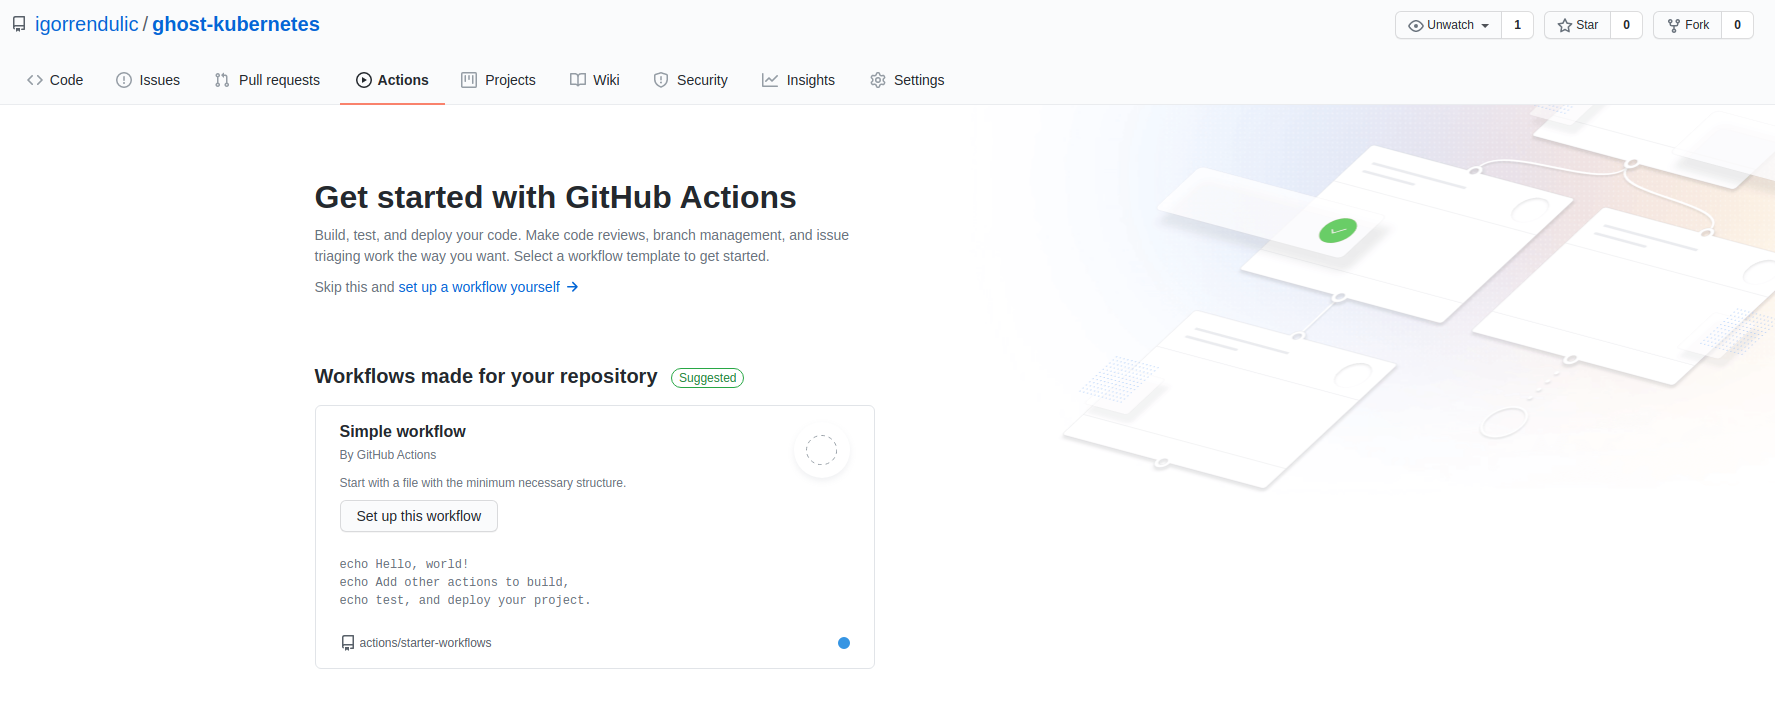
Scroll down until you find Docker Image. You might have to click on "More continuous integration workflows" if it's not near the top.
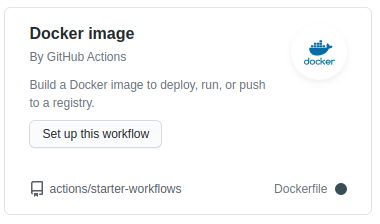
This will open up an editor. Here is where the meat lives.
Copy paste this yaml file in and modify until it fits your needs:
name: Deploy development to DigitalOcean

on:
  push:
    branches: [ do ]

jobs:

  build:

    runs-on: ubuntu-18.04

    steps:
    - name: UPDATE SHA
      run: echo $GITHUB_SHA > $GITHUB_WORKSPACE/_meta

    - uses: actions/checkout@v2
    - name: Build the Docker image
      run: docker build . --file Dockerfile --tag registry.digitalocean.com/myregistry/myproject:$(echo $GITHUB_SHA | head -c7) --build-arg token=${{ secrets.GO_BUILD_TOKEN }}

    - name: Install Digitalocean doctl
      uses: digitalocean/action-doctl@v2
      with:
        token: ${{ secrets.DIGITALOCEAN_ACCESS_TOKEN }}

    - name: Log in to DigitalOcean Container Registry with short-lived credentials
      run: doctl registry login --expiry-seconds 600

    - name: Push image to DigitalOcean Container Registry
      run: docker push registry.digitalocean.com/myregistry/myproject

    - name: Update deployment file
      run: TAG=$(echo $GITHUB_SHA | head -c7) && sed -i 's|<IMAGE>|registry.digitalocean.com/myregistry/myproject:'${TAG}'|' $GITHUB_WORKSPACE/kubernetes-do.yaml

    - name: Save DigitalOcean kubeconfig
      run: doctl kubernetes cluster kubeconfig save mydigitaloceanclustername

    - name: Store DO authentication token as a secret in cluster
      run: doctl registry kubernetes-manifest | kubectl apply -f -

    - name: Deploy to DigitalOcean Kubernetes
      run: kubectl apply -f $GITHUB_WORKSPACE/kubernetes-do.yaml
Go ahead and commit it. It can be committed to master (if you branched from master then it should be easy to merge to your branch: do).
Before we commit or push any changes to docker repository we need to create our deployment descriptor for kubernetes. So let's create kubernetes-do.yaml. This can be any type of deployment. Here i show an example of DaemonSets. I prefer deploying with DaemonSets over Deployment, because a DaemonSet ensures that all (or some) Nodes run a copy of a Pod. As nodes are added to the cluster, Pods are added to them. As nodes are removed from the cluster, those Pods are garbage collected. Deleting a DaemonSet will clean up the Pods it created.
apiVersion: apps/v1
kind: DaemonSet
metadata:
  name: myproject
spec:
  selector:
    matchLabels:
      app: myproject
  template:
    metadata:
      labels:
        app: myproject
    spec:
      imagePullSecrets:
      - name: registry-myregistry
      containers:
      - name: myproject
        image: <IMAGE>
        ports:
        - containerPort: 80
        - containerPort: 8090
        resources:
          requests:
            cpu: 50m
        volumeMounts:
        - name: keys
          mountPath: /var/run/keys
          readOnly: true
        workingDir: /app
        command: ["/bin/sh","-c"]
        args: ["nginx && ./main --config /var/run/keys/conf.yaml"]
      volumes:
      - name: keys
        secret:
          secretName: keys
---
apiVersion: v1
kind: Service
metadata:
  name: myproject-service
spec:
  type: LoadBalancer
  ports:
    - name: http
      protocol: TCP
      port: 80
      targetPort: 5000
  selector:
    app: myproject
As you can see you need to modify this deployment descriptor to your needs. One important thing to remember (regardless if your using Deployment or DaemonSets) is to ass this to the kubernetes-do.yaml:
 spec:
      imagePullSecrets:
      - name: registry-myregistry
If you don't add it you will get "Authentication required" and ImagePullBackoff error.
Now you can commit the changes. But don't push yet. We still need to merge master with our do branch.
git add .
git commit -am "Added digitalocean deployment descriptor for CD"
git checkout master
git pull origin master
git checkout do
git merge master
We should see in our folder structure new folder called .github. Under that there should be a sub-folder called workflows with containing file: docker-image.yml.
The docker-image.yml is just a simple set of command. They're equivalent as we would make a deployment from our local computer. It's just that syntax is a bit different.
I'd recommend trying to manually follow step by step the commands to verify that everything works as it should:
docker build . --file Dockerfile --tag registry.digitalocean.com/myregistry/myproject:mytest01 --build-arg token=abcdef # --build-arg is specific to private GitHub repos here

doctl registry login --expiry-seconds 600

docker push registry.digitalocean.com/myregistry/myproject:mytest01
In kubernetes.yml replace <IMAGE> with your image: registry.digitalocean.com/myregistry/myproject:mytest01
doctl kubernetes cluster kubeconfig save mydigitaloceanclustername

doctl registry kubernetes-manifest | kubectl apply -f -

kubectl apply -f kubernetes-do.yaml
When this works, revert the changes you've made for manual deployment testing and push the do branch to GitHub. Then go to GitHub actions and watch the magic. Or pull some hair out if it doesn't work for you.
I recommend manually installing LoadBalancer directly from your command line and potential secrets. Those really to be deployed only once. After that they don't have to be messed with.
kubect apply -f do-service.ymlSome additional resources: