Installing Ghost on DigitalOcean with Kubernetes
Installing and running Ghost Blog on DigitalOcean with Kubernetes


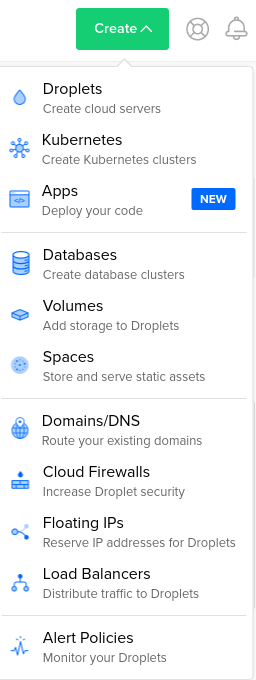
Simply click on Create Kubernetes cluster. You can select 1 droplet (this blog is running on 1 20$ machine). Ignore the warning when you select a cluster with only 1 droplet. It will work.
While the cluster is spinning up install doctl tools from DigitalOcean.
MacOS
Use Homebrew to install doctl on macOS:
brew install doctl
doctl is also available via MacPorts. Note that
the port is community maintained and may not be on the latest version.
Snap supported OS
Use Snap on Snap-supported systems to
install doctl:
sudo snap install doctl
Use with kubectl
Using kubectl requires the kube-config personal-files connection for doctl:
sudo snap connect doctl:kube-config
Using doctl compute ssh
Using doctl compute ssh requires the core ssh-keys interface:
sudo snap connect doctl:ssh-keys :ssh-keys
Use with Docker
Using doctl registry login requires the dot-docker personal-files connection for doctl:
sudo snap connect doctl:dot-docker
This allows doctl to add DigitalOcean container registry credentials to your Docker configuration file.
Arch Linux
doctl is available in the official Arch Linux repository:
sudo pacman -S doctl
As an alternative, you can install it from the AUR.
Make sure you read error messages is using Snap for installation. You'll probably need to run additional command after installation:
sudo snap connect doctl:dot-dockerNow clone the github repository:
https://github.com/igorrendulic/ghost-kubernetes
kubectl create -f volume.yaml
kubectl create -f deployment.yaml
kubectl create -f service.yaml
We're almost done.
Connect Domain to the right LoadBalancer
Navigate to Networking -> Domains and click on your domain.
If you have more than one load balancer make sure to select the correct one:
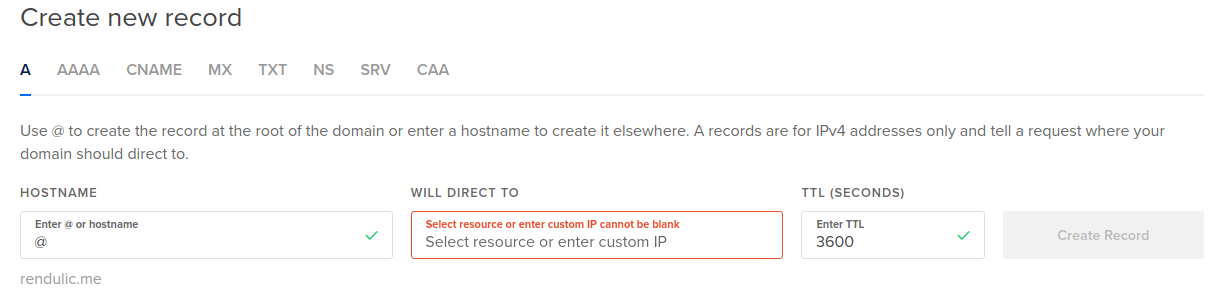
I'm not sure yet if A record must be added. Doesn't seem likely. You can add it anyways from Domains.
Add an Let's Encrypt SSL Certificate
The first step of enabling SSL Certificate is to create a Let's Encrypt managed certificate. You can do that through a LoadBalancer console.
Navigate to Networking -> Load Balancers -> Settings.
Edit the "Forwarding rules" and add new rule with a certificate:
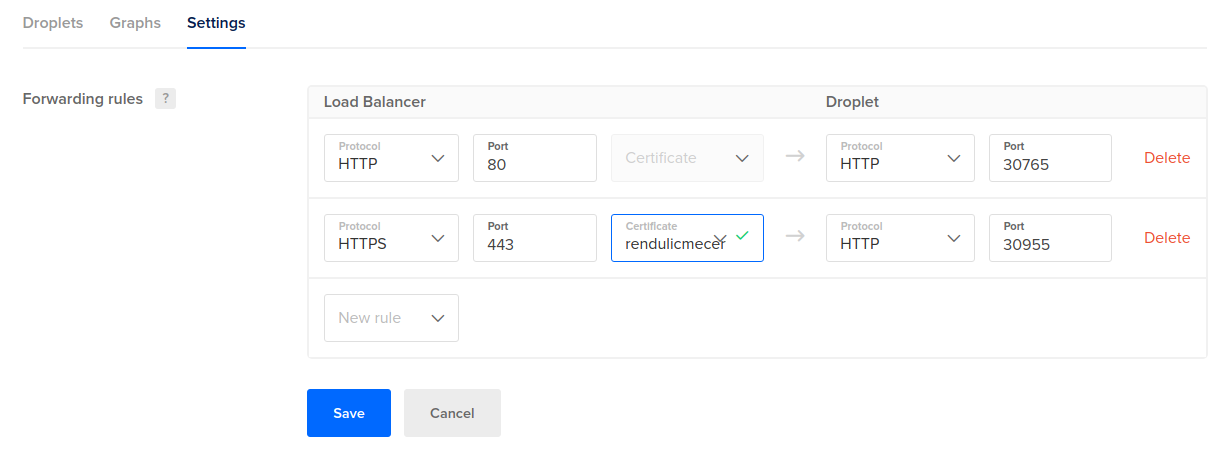
The Droplet part of the settings currently don't matter. You can select HTTP with port 80 for example. We will update our service.yml to make use of the generated certificate.
Once the certificate is created you need to find it's ID, using doctl command:
doctl compute certificate listGrab the ID and replace e4dca8e1-86f9-4933-a5d1-20347c4c9036 with your own in service-tls.yml file. Save it and run:
kubectl apply -f service-tls.ymlThis will replace your current service settings with the TLS termination settings.
Resources: